Hey there, how can we help?
Find the answers to your questions.
If you cannot find answer then contact us.
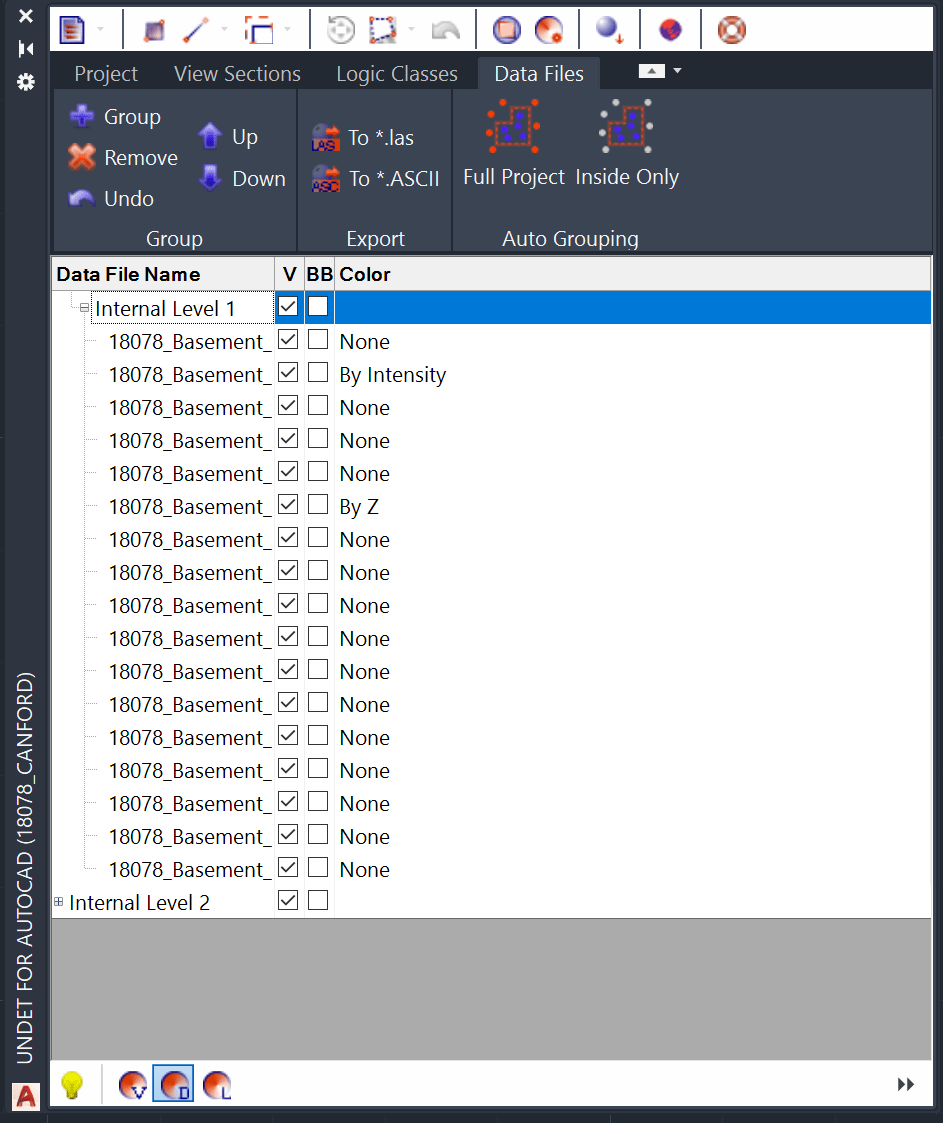
Undet palette Data files tab
UNDET Data Files Tab allows to manage and export Point Cloud project Data Files. In this tab You can see two panels. One is dedicated to grouping another to exporting Data Files.
Group panel
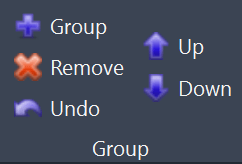
 | [Group] – Creates a new group or merges selected Data Files to new group. Quick tip: You can select multiple files at once by holding Ctrl or Shift button. |
 | [Remove] – Removes selected Group from the List. Program removes only Group, but not Data Files, assigned to it. After deleting Group, Data Files remain in the List. |
 | [Undo] – Reverses last Group Panel command. |
 | [Up / Down] – Moves UP or DOWN and changes selected record position inside the Group on the Data Files List. |
Export panel
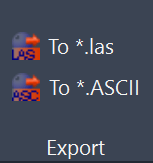
 | [to .las] – Creates a LAS file or multiple files with selected Data Files names. |
 | [to *.ASCII] – Creates an ASCII type file or multiple files with selected Data Files names. Desired format can be specified in launches File Format Dialog Box. |
Auto Grouping panel
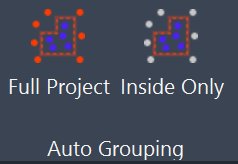
 | [Full Project] – Auto-groups scan stations into an external and inside level groups. |
 | [Inside Only] – Auto-groups scan stations into inside level groups. |
Data Files List shows and helps to manage all imported to UNDET Project Data Files.
- To assign imported Data Files into Group select Files you want to assign (use Shift or Ctrl buttons to select multiple Files) and choose Add Group command from the context menu.
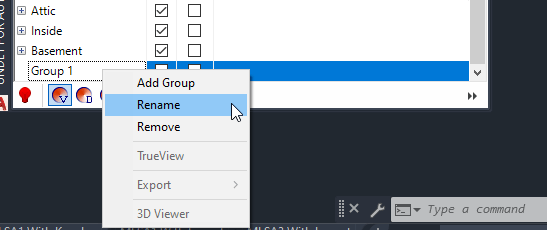
- To rename any Data File in the List double click on its name or right click on it, choose Rename command from the context menu and type the new name.
- Check Tick-Mark in V column next to corresponding Data File’s name if you want this File to be visible in the drawing.
- To remove any Group from the List right click on it and choose Remove command from the context menu. Program removes only Group, but not Data Files, assigned to it. After deleting Group Data Files remain in the List.
- To export created Data Files to LAS, PSG and ASCII formats right click on selected File (use Shift or Ctrl buttons to select multiple Files) and choose corresponding Export command from the context menu.
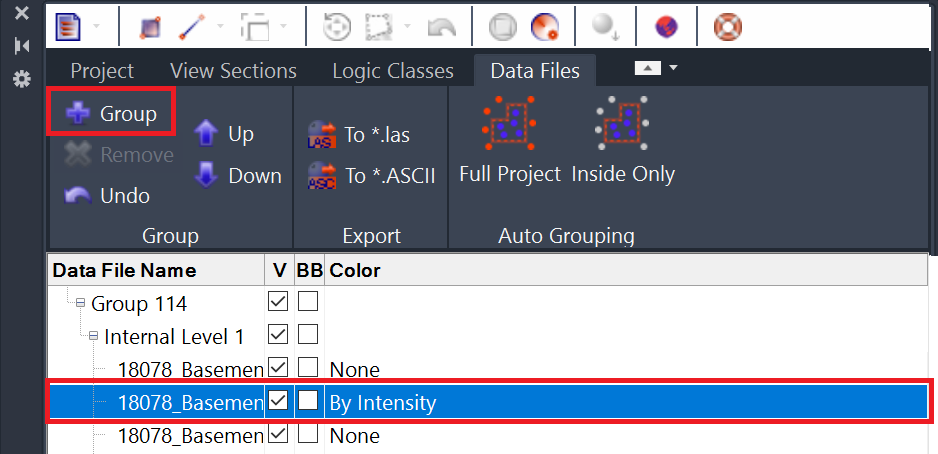
- When Coloring by Data Files mode is selected, you can also choose one of Coloring Options for Active View Section in Color column.
To create new group simply select desired Data Files and click Group.
After creating new group it will show up at the bottom of data files list, by clicking right mouse button You can assign name to new group. It will help organize and navigate between grouped Data Files.
Example: Using Data Files groups to navigate in Point Cloud environment
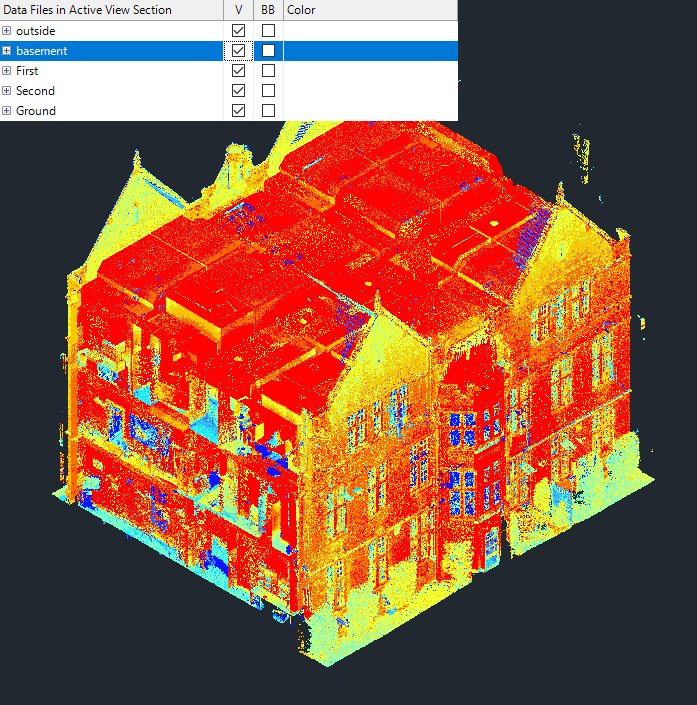 |
All Point Cloud Data Files groups visible (seeing all scanned data from Point Cloud data). |
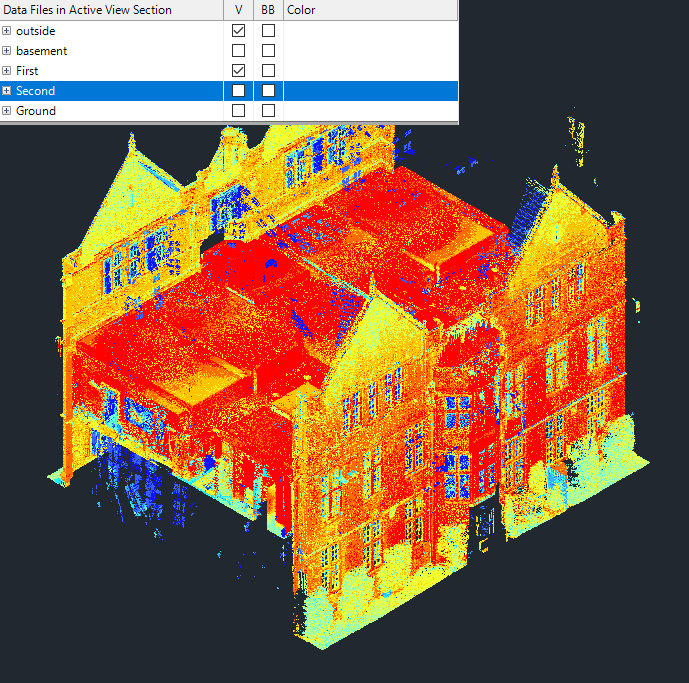 |
Few Point Cloud Data Files groups visible (seeing only selected groups of Data Files Point Cloud data). |
 |
Single Point Cloud Data Files group visible (seeing only one selected group of Data Files Point Cloud data). |
 |
Check / uncheck to show / hide points from selected scan data file or group. |
 |
Enable / disable selected scan file or group station position center symbol. |
Quick tip: Grouping files might take some time at first but if done correctly might save a lot of time latter, specially in bigger projects. Working with isolated Data File groups might help identify smaller or detailed object by choosing correct coloring and isolating correct scan positions.